Lesson 2 - Introductory Project - 3D Print an STL From an File Repository
Description
This lesson introduces File Repositories, online communities where members freely share 3D print files. We will cover how to find and download the files necessary to 3D print a simple object.
Introduction to File Repositories
Due to 3D printing’s popularity and ease, there are a number of “file repositories” (or repos) communities that allow members to upload and share their 3D printing designs with everyone. Other users can then download and remix these files, building on the original designs and improving upon or radically changing them! The best part of these repos is that users can start print files that are useful or interesting to them without having to know how to create them!

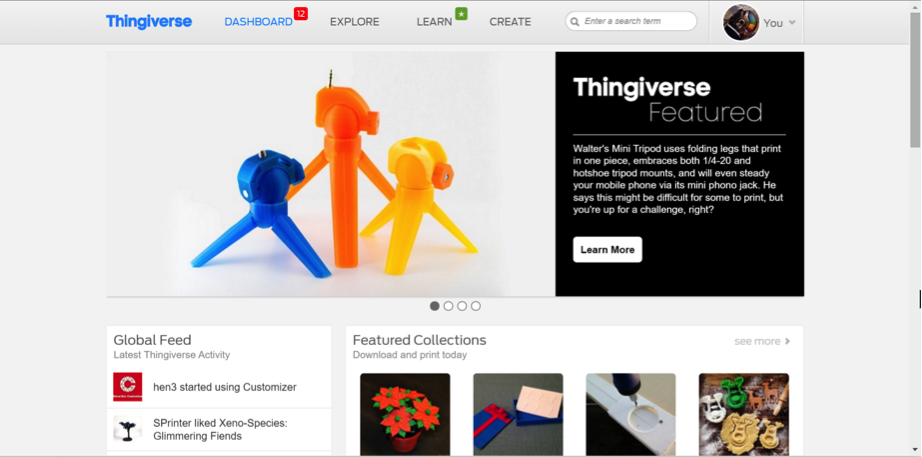
Thingiverse (www.thingiverse.com) is one of the most popular digital fabrication repos, with a broad community and over 100 000 shared 3D models for you to freely download and print. Most of the files available are licensed under a “Creative Commons License”, which means that anyone is allowed to use and modify them freely as long as you give credit to the original creator.
1.Select and Download an STL
If you already have an idea of the type of simple object you’d like to use as your first print, navigate to Thingiverse (www.thingiverse.com) and use the search bar at the top, right hand side of the page.
Browse through the results and if you find what you’re looking for you can click into it’s page. It’s ok if you’re not quite sure or can’t quite find what you were looking for, feel free to scroll down and take a look at some of the items (or as Thingiverse calls them, “Things”) that other users are sharing and downloading, or browse the available Categories(http://www.thingiverse.com/categories).
After browsing or searching through Thingiverse, if you are finding it difficult to to decide on a first item, feel free to select from the following:
- Crystals by MakerBot (http://www.thingiverse.com/thing:140965)
- Avocado Pit Germination Holder - Floating Edition by sa7ina (http://www.thingiverse.com/thing:42486)
- parametric hyperbolic pencil holder by buckyball (http://www.thingiverse.com/thing:192358)
- Watering Bottle by 3DBROOKLYN (http://www.thingiverse.com/thing:920298)
- Second Life Mug by LeFabShop (http://www.thingiverse.com/thing:310961)
- 2 Liter Soda Bottle Opener AND Closer Wrench by Finch (http://www.thingiverse.com/thing:197860)
When you have decided on what you would like to use for your first 3D print, click on the blue “Download This Thing!” button.

This will take you down to the the downloads section, which will have a listing of all of the files for this item (some designs print as a single piece, others may require countless parts) along with a blue, “Download All Files” button. Clicking this button will download a ZIP file that contains all of the required files.

Once the download completes, extract the contents of the ZIP file to a new folder your Desktop.
2.Prepare files
If you’re planning on having your part printed for you, your files are already in the correct format. Skip ahead to the Print section.
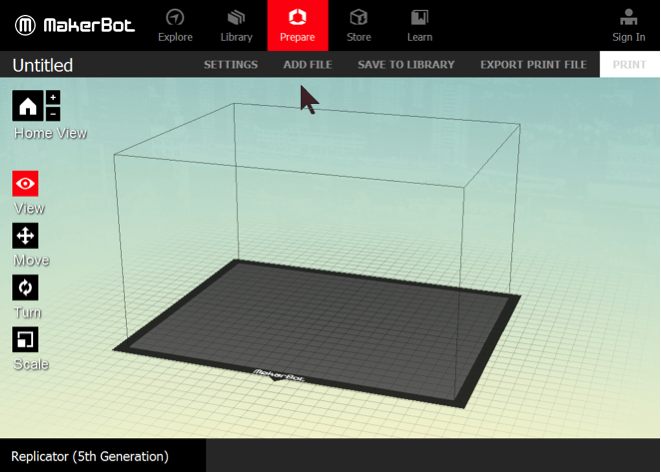
If you have access to a 3D printer directly, then you’ll need to convert your .STL file to a format that the 3D printer can read. 3D printer manufacturers usually provide these applications, or Slicers on their websites.
The specific steps will vary slightly from application to application, but the general process is the same with most slicers:
- import model: The first step is getting your model (.STL file) into to slicer. Most will have a button containing “import”, “add file”, or “+”. Use this button to select the file you exported to the folder on your Desktop.

2. set print options: For basic prints, the default print settings in most slicers are a good balance of print quality and speed, so you shouldn’t have to do any adjustments.
- infill
- layer height
- supports
- rafts
3. slice model: Now you’re ready to do the slicing! In cases where you’re going to be printing to the 3D printer directly over a USB cable, the slicing or “printing” process will automatically take care of the next 3 steps. The downside to using a USB cable is that it requires a dedicated computer for the duration of the print. If you choose this option, you can proceed to the Print step below.
Many 3D printers also support external media like memory cards or usb flash drives. These are a great option for doing prints without tying up a computer. First, insert your memory card or usb key into your computer. Next, depending on the slicer, the option may be called something similar to “Export Print File” or “Print to SD Card”. Clicking this button will initiate the printing
4. transfer file to printer: Insert the memory card or usb key into the 3D printer, and use its interface to navigate to your file. Once you’ve located your file, you’re ready for the next step. If you’re not quite ready to start the print just yet, and your printer supports it; preheating the 3D printer is a great way to reduce the wait time
3.Print
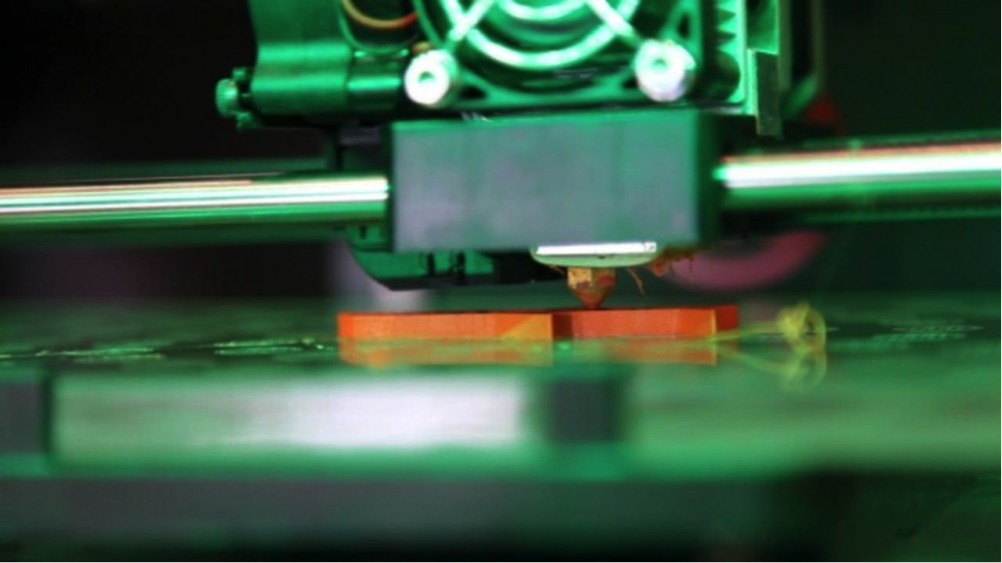
This step may start automatically if you chose to transfer your print over USB cable. If you opted for external media, then do a final check to ensure that you have enough filament in the machine, and start the print! If possible, keep an eye on the print and look at how the printer creates your piece, slice by slice. This also ensures that if anything goes wrong, you’re there to hit the cancel button and stop the machine from doing further damage. Bed alignment issues, and a lack of adhesion to the print bed can cause prints to lift and move as they’re printing, which can sometimes have disastrous results. If you experience any issue, stop the print immediately, clean off the print bed and recalibrate the printer, then restart the print.

4.Post Processing
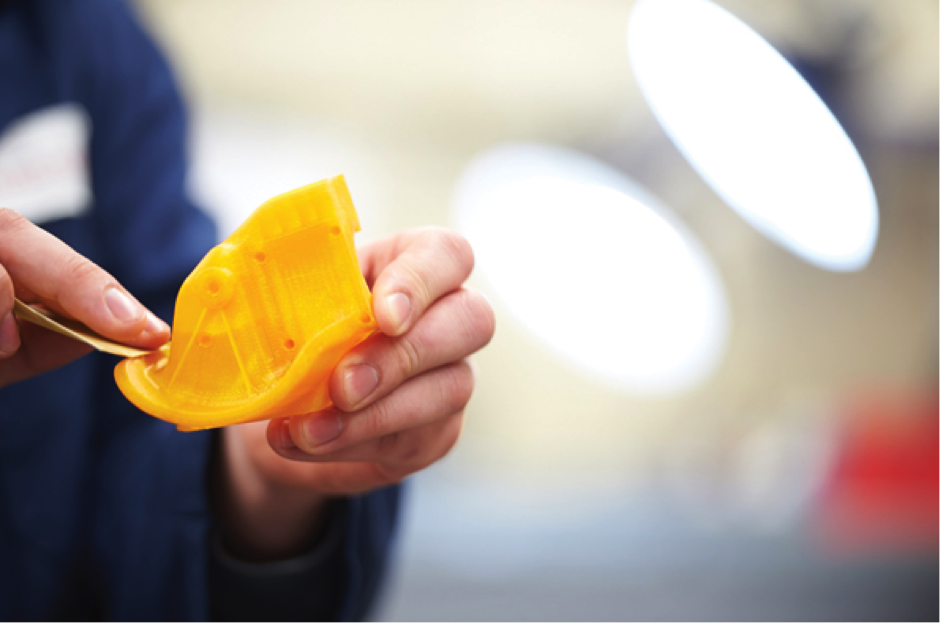
Congratulations, you just did your first 3D print! If you look at it closely, you’ll see the layers that make up your print, which give the print a type of surface “grain”. You may also notice small bumps and errors where some of the layers didn’t quite stick, or where supports connected to the piece. These small imperfections can be cleaned up with a little bit of sanding, and will go a long way towards improving the final results. Explore the Advanced Topics below if you’re interested in more ways of improving your prints.

Advanced Topics
Try a multipart STL
Now that you’ve tried your hand at a one part print, look on an online file repo for an object with multiple pieces or components. The precision of 3D printers means that complex designs can be realized by combining components, like the 3D printers themselves. Search around on Thingiverse, or choose one of the samples below!
- Customizable petal screw box by bmcage
- Print-In-Place Fidget Cube by mathgrrl
- Five screw-puzzles by George Hart by GeorgeHart
- 3d Jointed Puppy Dog by jazmy
- Jointed Robot by Shira
Painting
Parts that have been sanded can be painted with a few light coats of spray paint if you want to customize the colour and improve the surface quality. Ensuring that you work in a clean, well ventilated space, and give enough time for the paints to dry between coats will improve the quality.
Task
3D print the STL you selected from the online repository. Once that is complete, share What do you really like about 3D Printing? What’s the worst part about 3D printing?
Continue to Lesson 3 - Advanced Project - Solid Model a Personalized Keychain »
Submissions (1)
-
Tania Rashid Discussion post: 3616.5 days ago
